
How to Hang Wall Decor Like a Pro
Don’t be intimidated by hanging your wall decor — we’ve compiled the basics to help you make it easy to hang art in style.

The biggest obstacles getting in the way of people sprucing up their walls is what to hang and how to hang it. We’ll give you tips to keep in mind as you’re narrowing down the look you want and selecting the exact pieces to hang. Plus, we’ll share the basics of hanging wall decor including designing the layout and actually installing on the wall. For a full breakdown of ideas and a curated selection of art, wall hangings and more, check out our SoS Guide to Wall Decor.
Every product is curated independently. Things you buy through our links may earn us a commission.
General Hanging Guidelines
Measuring & Proportion
When hanging art (or whatever you’re hanging), you want it to be in proportion to the wall. It’s very Goldilocks — too small and it will look out of place; too big and it will throw off the balance of the room. Here’s a good rule of thumb to follow.
Width - The art should be two-thirds the size of the sofa, headboard, mantle or whatever you’re hanging it above.
Height - Hang 6-10” from the top of the furniture and if not above furniture, hang at eye level (about 60” from the floor).
Quantity - This guideline applies whether it’s a single piece, two or three pieces side-by-side, or a collection, like a gallery wall or grouping of plates.
Spacing - Hang large and medium pieces 2-3 inches apart, and smaller pieces 1.5-2.5 inches apart.
Rules are meant to be broken - However, there are always going to be exceptions! For instance, a tapestry looks great going end to end over a sofa or bed.

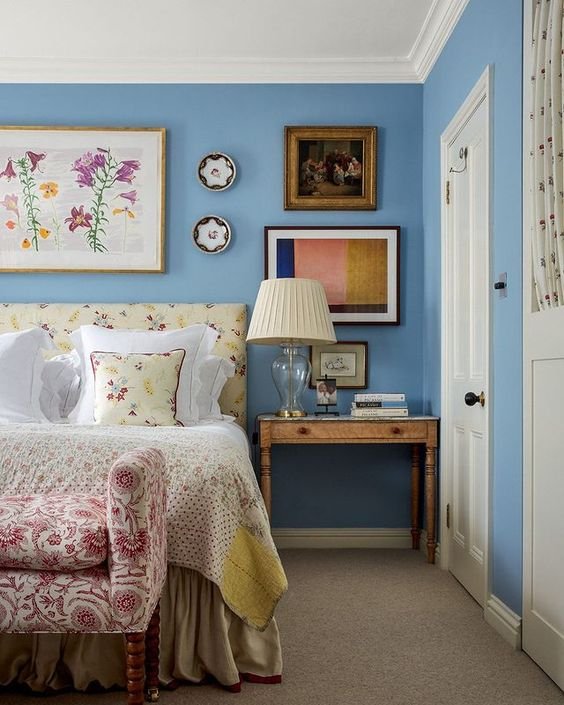
Two framed hung side-by-side in proportion to the bed frame (Bedroom design by Studio Ashby)
How to Hang Multiple Pieces
When hanging a cluster of wall decor, follow these basic steps to plan the layout and install the pieces on the wall.
Gather supplies - You’ll need a hammer, hooks, pencil and paper and ideally a level.
Determine the layout - Arrange the pieces you want to hang on the floor. Try a few different arrangements until you’re feeling good. (We offer some suggestions below.)
Trace the outline - Using paper, trace the outline of the objects and cut it out. Draw a vertical and horizontal line through the template.
Tape the templates — Tape the templates on the wall in the arrangement you’ve laid out. Seeing it this way gives you a second chance to make sure it feels right.
Level - Align a level with the lines drawn on the paper to ensure they are straight before hanging.
Hammer and hang - Measure the length of the hook and subtract that length from the top of the template, so the object will line up where you want it. Then just hammer and hang!

Baskets in small, medium and large looks cohesive in shades of brown and black (Sarah Bartholomew Design)
Hanging Plates & Baskets
Deciding which plates or baskets to hang together
Here are some basic guardrails that will help you figure out what pieces go together.

Varying size plates and platters in a white-cream-pink palate come together beautifully (Charlotte Bland)
Varied sizes grouping - Mix together different sizes (like a platter and plates), but keep them in the same color family.
Color/pattern grouping - Mix together different colors or patterns, keep them the same size and generally speaking keep them within the same style (eg: don’t mix English bone China with Italian ceramics).

Alternating colors of the same design (House & Garden UK)

A trio of plates hung beside a painting (Cote de Folk)
Mixed media - Create an eclectic grouping of plates and art. It’s good to have a mix of sizes with one focal point piece that’s bigger. The designs don’t have to match but should feel akin to one another.
Tips for hanging plates
Hanging plates requires an extra step, but once you have the right tools, it’s not hard and so worth it.
You’ll need to order plate hangers which attach to the plate and allow you to hang them with a hook. There are two options for this: plate display hanger which braces the plate and disc hangers which use adhesive. It’s best to order one and see if it fits on your plates, then order more.
If using the plate display hanger, make sure the wire is not jutting out so the plates lay flat. The benefit of this one is that you can remove the plates from the wall and use them!
For heavier plates and platters, it’s a good idea to have holes drilled into the base so you can run a strong hanging wire and give it extra support.
How to arrange plates or baskets
Here are some suggestions for how you could arrange your plates or baskets on the wall.
Patterns - Arrange them in a pattern, like a square, diamond or something more ornate. You can make it up, just keep it symmetrical. One option is to put a larger piece, like a platter, in the center. Ideal for larger walls.
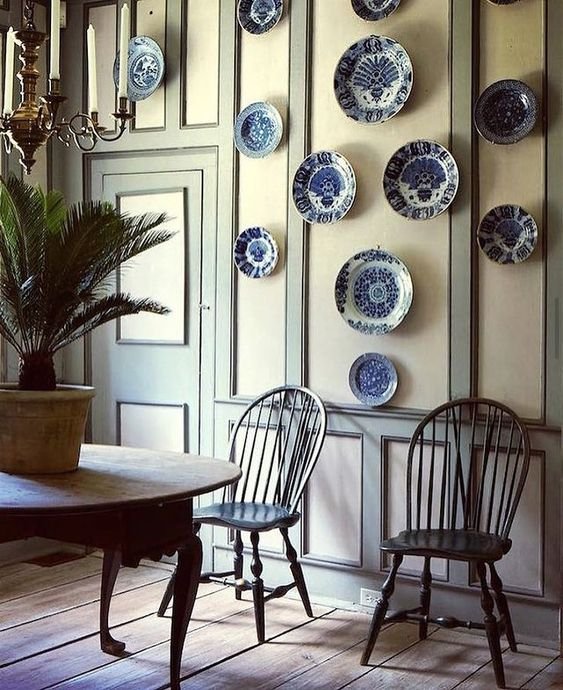
Classic blue & white china creates a sprawling pattern on a wall (@janefrenchhome)

A row of plates hung just below the ceiling (Frank de Biasi)
In a row - Display plates in a vertical or horizontal row. We like this arrangement for squeezing in skinny places like above cabinets or narrow walls.
Artistic cluster - Display a cluster of plates or baskets in a more organic and artistic formation. The exact shape can be site specific, but some options are to cluster at the top of a ceiling or in between paneling.

Green plates are clustered in an organic pattern up to the ceiling (@joannawooduk)

A single cheeky plate adds a touch of adornment beside a sink (Lucy Williams)
Solo - Hang a plate / bowl in a small open space on a wall. If your room has lots of funky spaces, like a kitchen or a laundry room, you could sprinkle a plate (or two) in different parts of the room. Another location that’s ideal for a single plate is above a doorway.
Hanging A Gallery Wall
What to include in a gallery wall
What makes a gallery wall work is an eclectic mix of pieces. Ideally it would include a mix of the following:
Framed art - Consider a variety of mediums including photography, paintings, and drawings. Include a range of sizes including a couple of bigger ones. No need for frames to match — it looks more organic when there’s a mix.
Framed non-art - Framed pieces don’t have to be limited to art. You can frame almost anything. For instance, you can frame objects that have special meaning to you, like matchbooks from places you’ve visited or a menu to a special meal, or you can frame things like textiles, like a scarf you really love the look of.
Objects - Mix in one or two random objects — could be anything from a sign to a basket or plate.
Tips for hanging a gallery wall
It’s ok if you don’t have a lot of pieces to start out. You can build the gallery wall organically as you collect pieces. You’ll want to begin by hanging two bigger pieces in the outer corners and in the middle and then build around them toward the middle. This approach is good to follow if you have aspirations of covering a whole wall — which understandably might take some time to achieve.
A gallery wall can be as large or as small as you want it. You can install a large one comprised of seven or more pieces, or limit to just a few pieces to fit a smaller space.

A stairwell is decorated with a large floor to ceiling gallery wall (David Thomas Design)
A smaller gallery wall fits into the space below and beside the bed (Octavia Dickinson)
Hanging A Series of Art
How to arrange a series of art
While series are convenient in that you don’t have to coordinate pieces, you do have to decide how you want to arrange them. For that we have several suggestions including which type of series work best with them.
Grid - Line up the framed art in even rows and columns. If you have 12, create 3 rows of 4 and so on. You’ll want to hang them close together, 1.5 - 2” apart, and consistent. This arrangement works particularly well for smaller frames.

A variety of framed plants is orderly in a tight grid that takes up a wall above a sofa (Pernille Lind Studio)
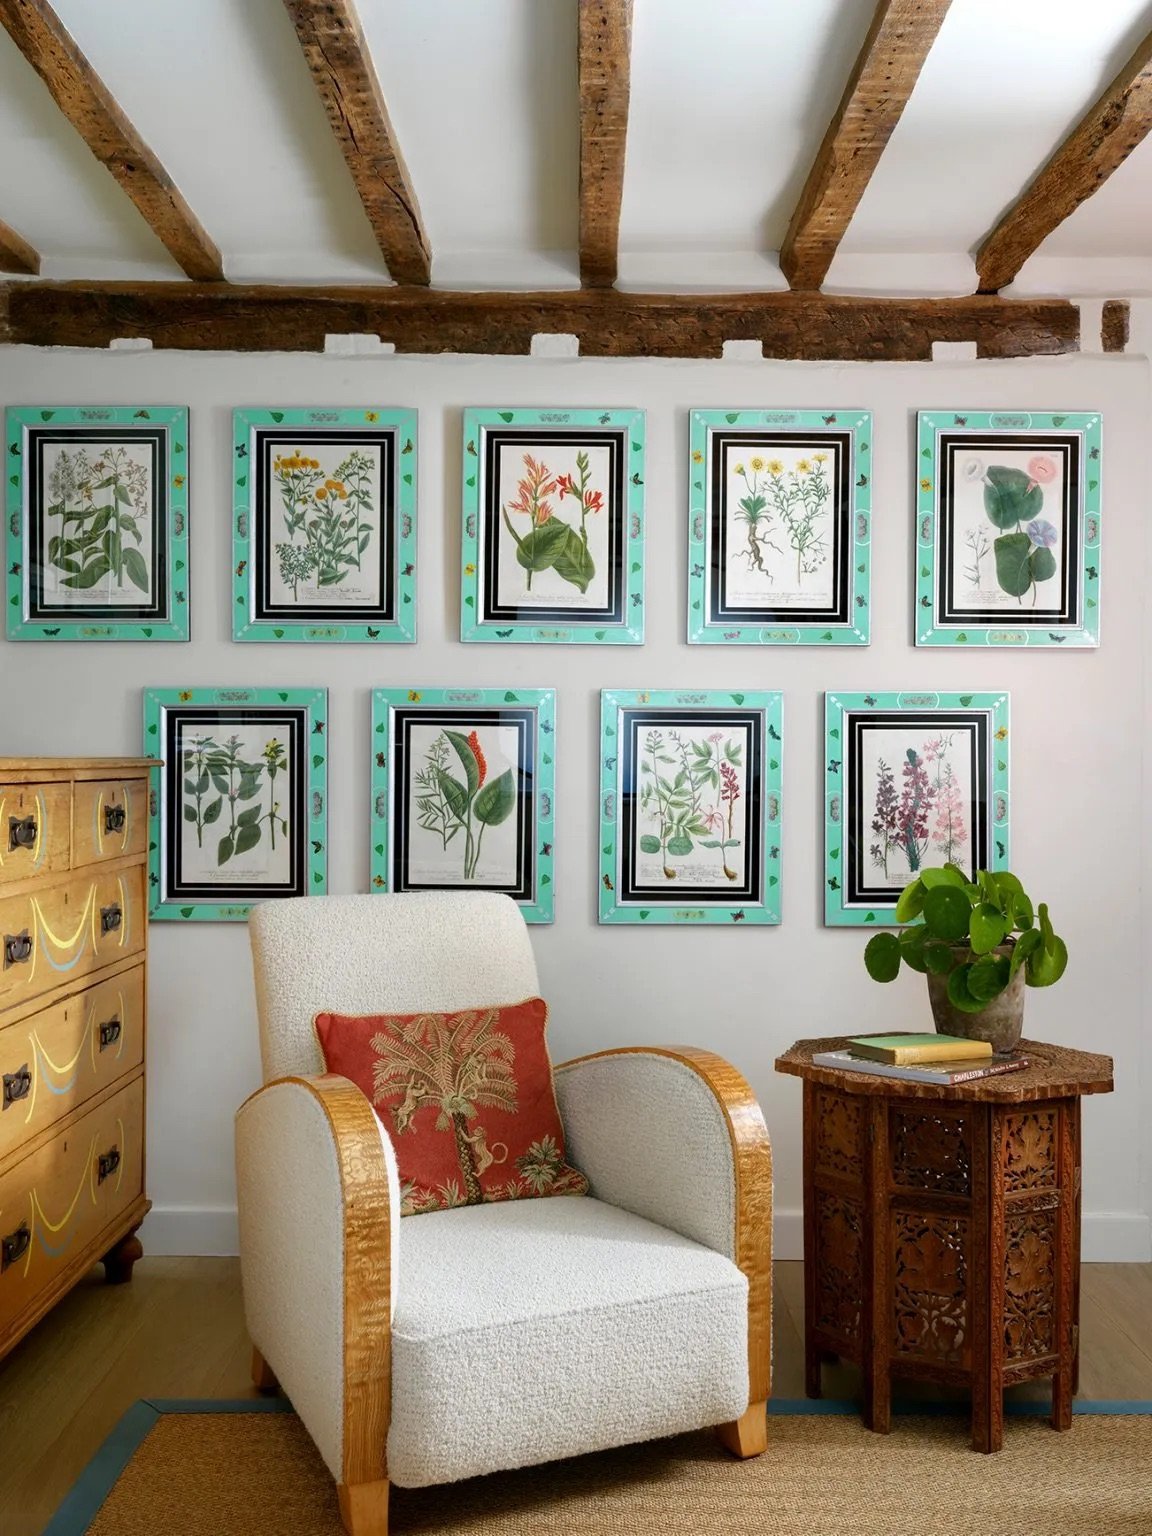
This series of botanical prints fills up the space in two rows (Beata Heuman)
Rows - For medium sized frames, whether they’re vertical or horizontal, hanging them in two rows works best. You’ll want to roughly fill up the length of the wall with the row. And if you don’t have an even amount, no worries — just make one row longer (we think the top one looks best) and center the other row.
Column - Hanging the series vertically can also work for some spaces and series. Smaller frames can get lost in a row on a regular wall. Instead, line them up in a column and place them in a tighter space, like the end of a hallway or between doorways.

Three charming small-scale prints lined up in the space between closets (Sense of Spencer)
Hanging A Statement Piece
Tips for hanging a statement piece
For hanging art, the general rule of proportion (above) applies. You’ll want to measure the space you’re planning to hang something above, and find a piece that comes in at roughly 2/3.
An exception to this is hanging tapestries. They actually look better when they equal the length of whatever they’re hanging above.
How to hang a wall tapestry
Here’s a demo I shared on Instagram. Follow these steps below.
Purchase carpet tack strip (used for installing carpets!) to fit the length of the tapestry that you want to hang down from the wall.
Cut the strips to fit the tapestry (you may need to use two next to each other if the tapestry is longer than the strip).
Decide where to hang the tapestry, mark the wall, and screw the strip into the wall.
Gently press the tapestry into the tiny nails.
This trick works especially well for blankets that act as tapestries. I would consider a different option for an antique tapestry or anything that’s quite delicate.

A tapestry fills the wall behind a headboard lining up end to end (Deborah Needleman)

This blanket turned tapestry acts as wall decor above a sofa (Glebe House Devon)
Hanging A Decorative Object
Ideas for how to hang a decorative object
Due to their size and often-times shape, decorative objects offer a lot of versatility when hanging on a wall.
Finishing touch - Hang a decorative object to add a little adornment and complete a space, like throwing on an earring to finish a look. This works particularly well in odd spaces, like narrow walls, or nestled into nooks, like beside a bed.
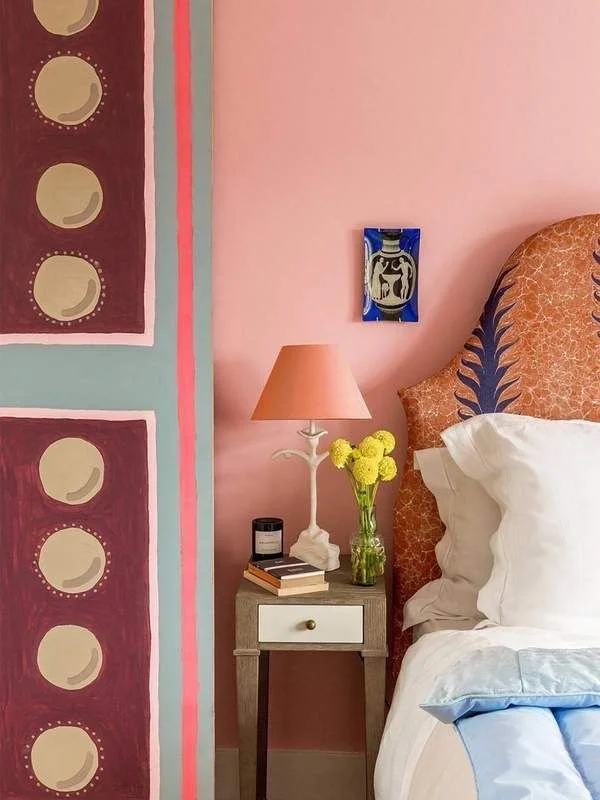
A glass decorative piece hangs just to the side of a bed (Net-a-porter)
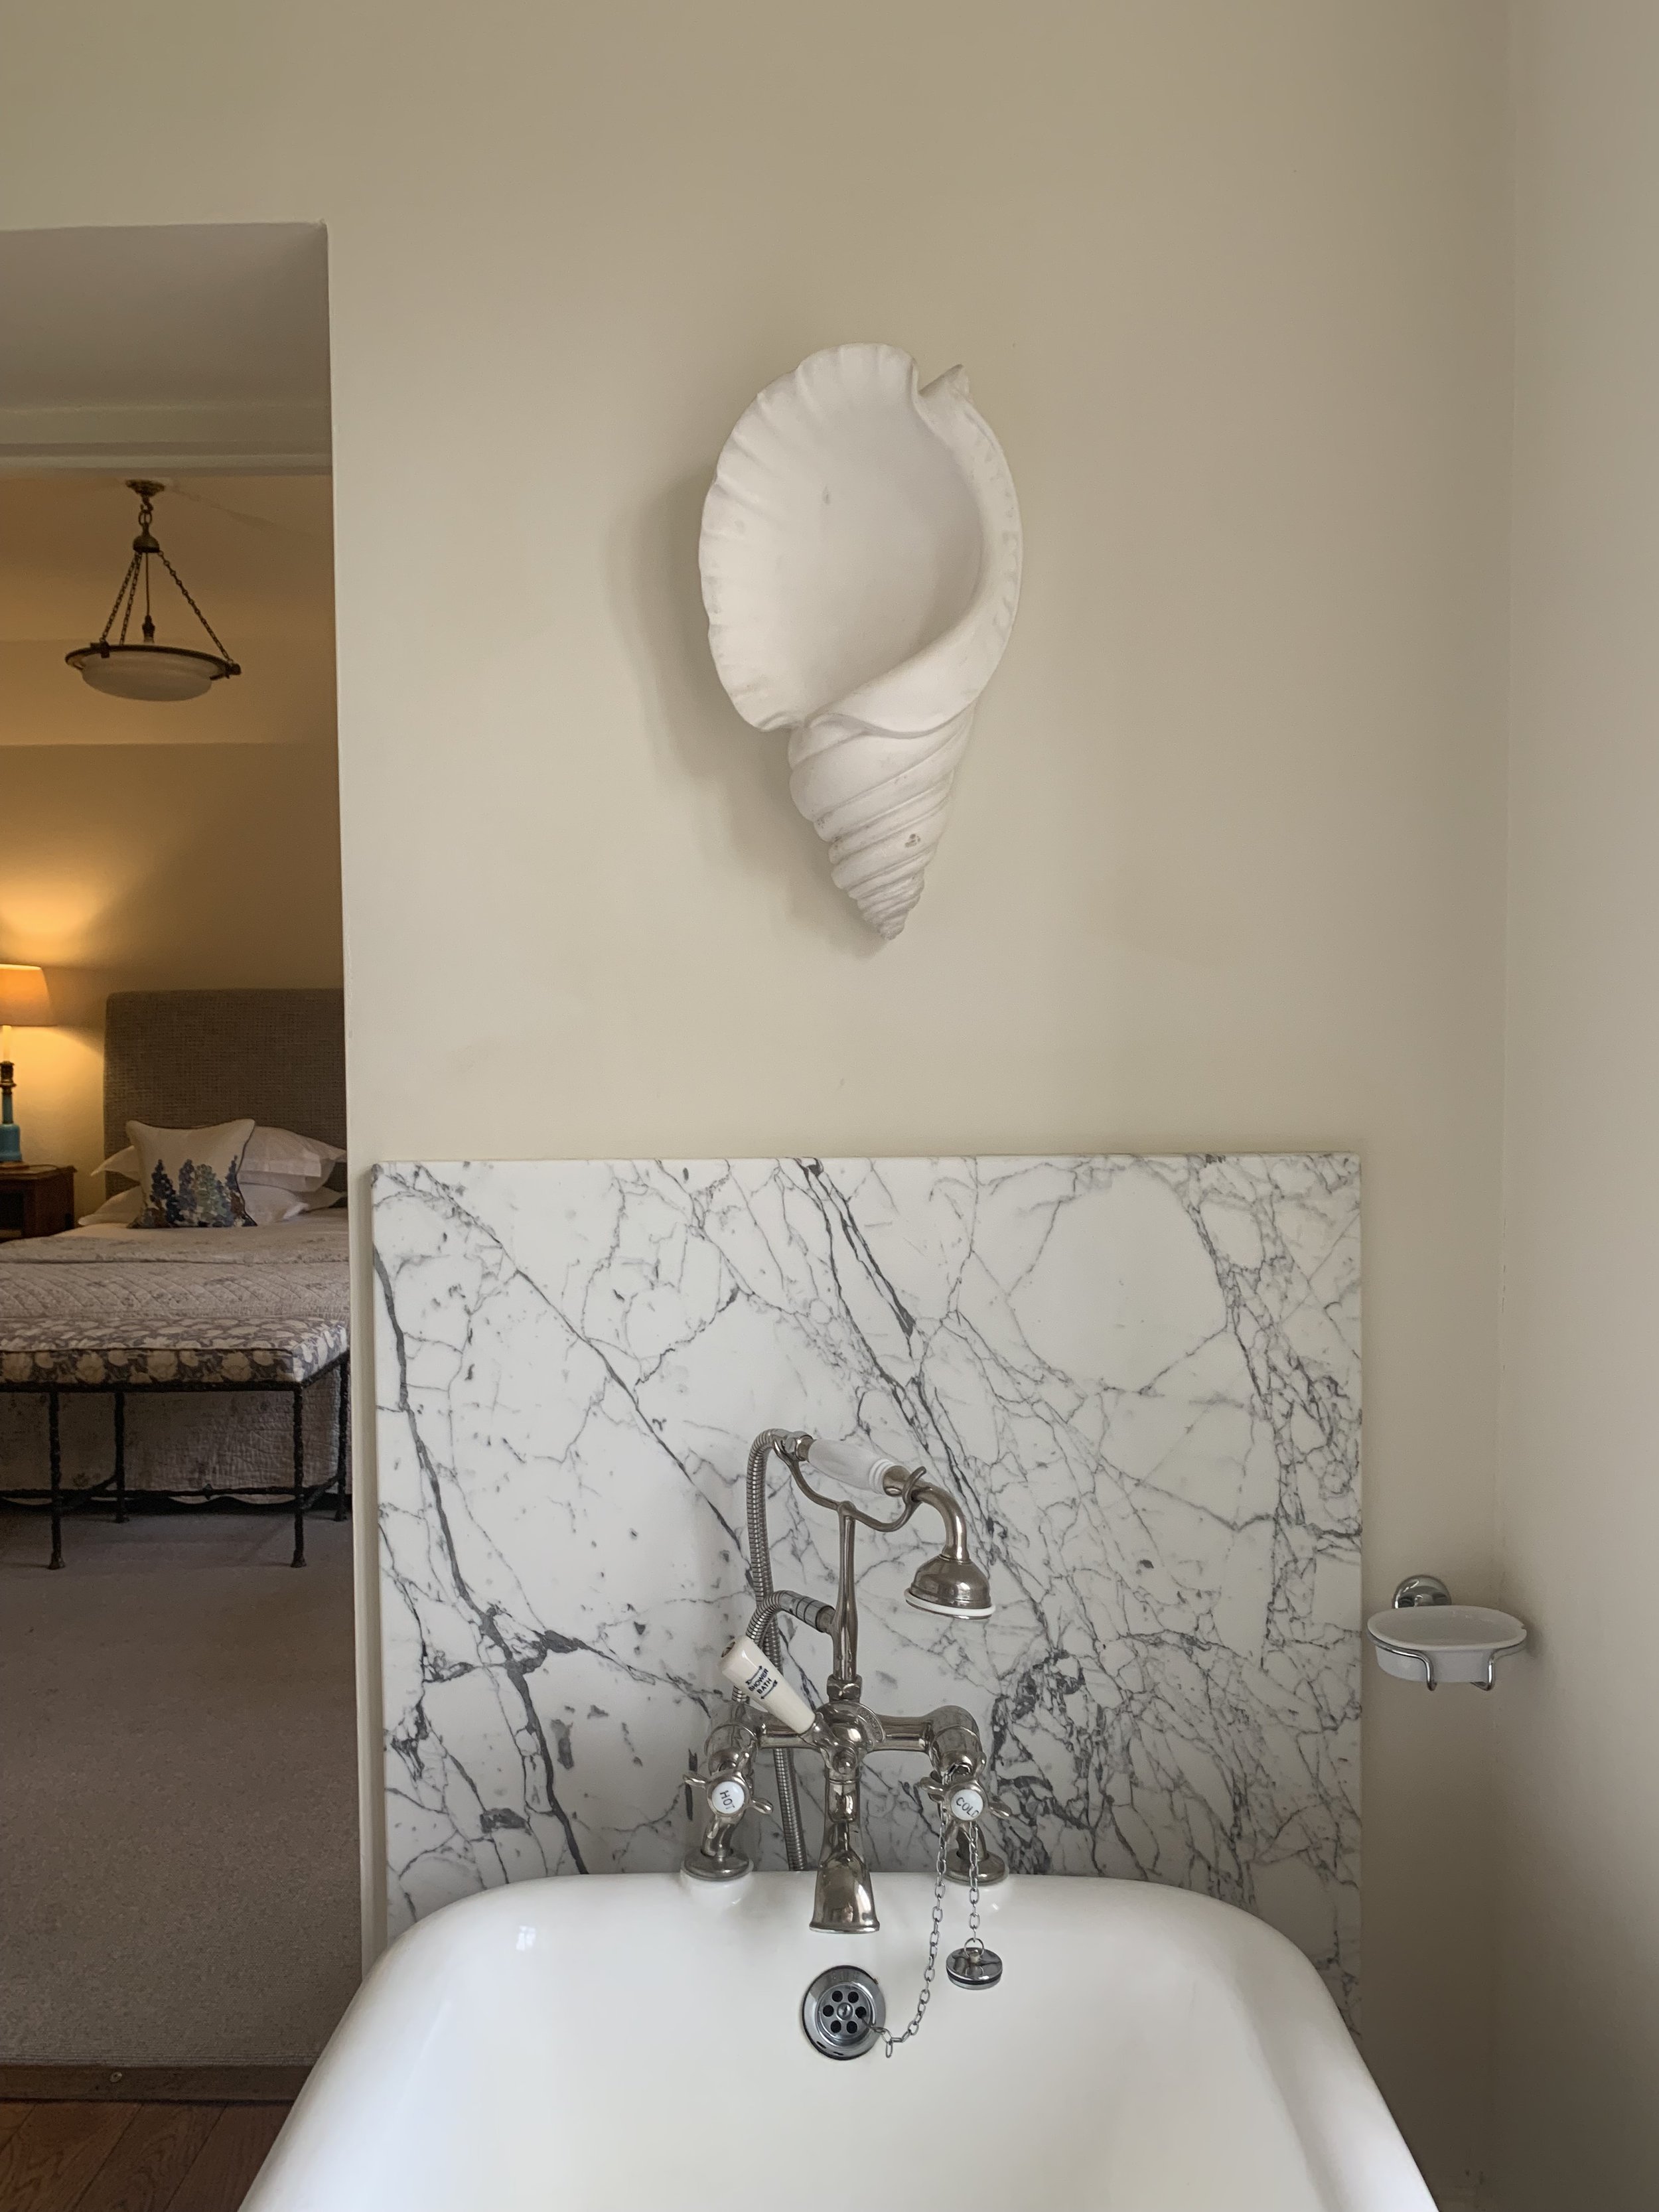
An object shaped like a shell hangs above a bathtub (Hotel Endsleigh via Sense of Spencer)
Multiples - Hang multiple decorative objects of the same design together. It could be a pair hung on opposite sides of a space or several objects grouped together to make a big statement.

Gold leaf wall scone are repeated on a wall to dazzling effect (Amanda Cutter Brooks)

Matching mirrors hang above twin beds (Heather Chadduck)