
Decorative Painting 101 with an IKEA Chair
How I turned the IKEA Ivar chair into an heirloom with paint

A little while back I transformed a basic pine table from IKEA into a unique piece. The matching chairs I got with it looked so sad and lacking next to it, so I performed a little magic with decorative painting. The result is a one-of-a-kind heirloom quality set of chairs. Decorative painting can seem a little intimidating, but I promise it’s a lot easier than it looks, especially with the right tools and techniques, so I’m going to share how I did it.
Decorative painting has been making a comeback in recent years. The most prominent practitioner, and a huge inspiration to me, is Tess Newall who lives and works in England where decorative painting is more widespread. For my money, I think this technique is a wonderful way to bring character to a room and flip pieces that are well worn or cheap. This project isn’t my first — I’ve also painted a console table and picture frames (here and here).
A curated guide to creating a one-of-a-kind home: interior inspiration, styling tips, & unique objects
FOLLOW ALONGRELATED POSTSHow I Transformed A $79 IKEA Pine Table Into A One-of-a-kind Piece
Easy, Creative Home Styling Ideas
Every product is curated independently. Things you buy through our links may earn us a commission.
sense of spen• cer
noun [sɛns, əv, ˈspɛnsər]
Reflecting one’s identity through their interiors
A home with character and soul
When a house becomes a home
Before & After
As you can see, the chairs were pretty unremarkable to start, yellow-y pine wood and fairly inelegant lines. With a coat of chalk paint and handpainted designs, the chairs are now a focal point, adding rich pattern and color to the dining area.
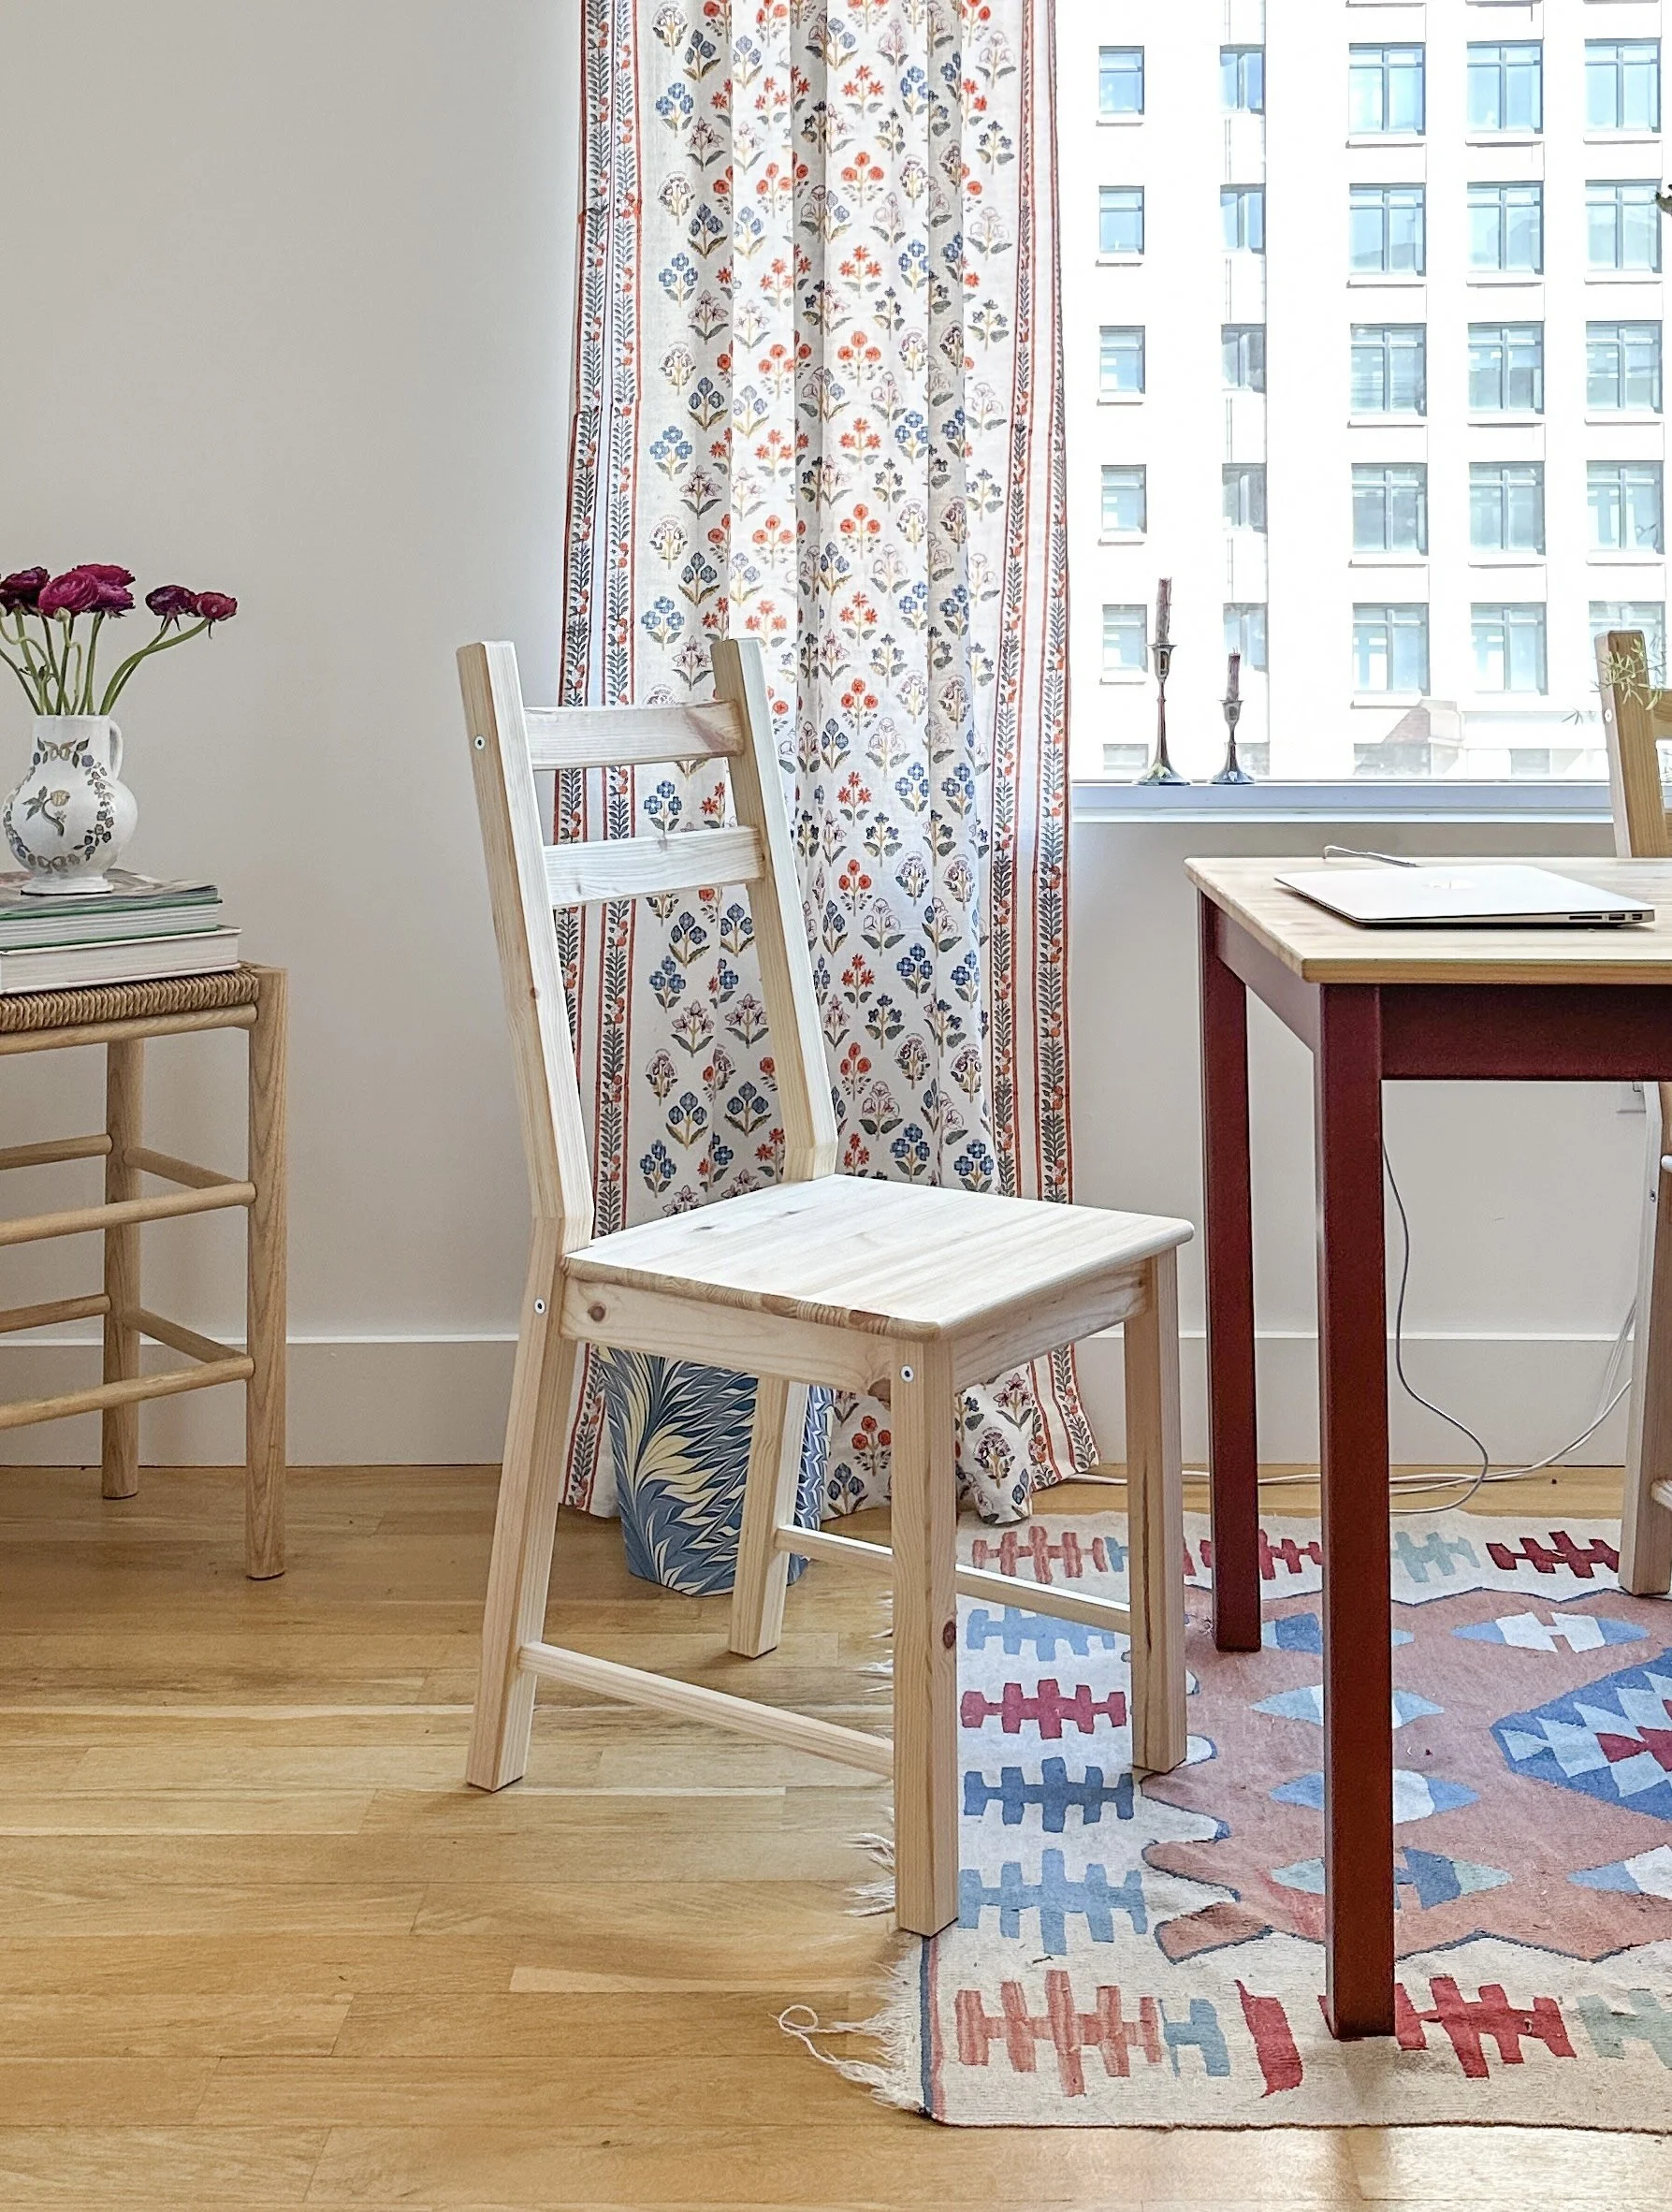
BEFORE: unfinished IKEA Ivar chair

AFTER: IKEA Ivar chair customized with decorative paint
The Vision
For this project I was drawn toward decorative painting references that are a bit more classical (vs. folksy/bohemian). Pretty early on I knew I wanted to feature a greek key and Vitruvian scroll. I kept returning to this painted chest from Casa Gusto.

Supplies
Here’s everything I used:
IKEA Ivar chair - or any chair you have!
Sketch paper / scissors / pencil / tape / a good eraser
Small paint brush - this is what I used or you could get a Annie Sloane Chalk Paint Brush
Annie Sloan Detail Brushes - you can use any fine tip paint brush, but I love the versatility that these offer
16.9 oz - Annie Sloane Chalk Paint in Svenska Blue - for covering 2 chairs, I needed more paint
Leftover Etruscan Red by Farrow & Ball from a past project
A note about the paint supplies
For my past decorative painting projects, I’ve used regular paint (specifically Farrow & Ball), but for this one I happened to stumble across Annie Sloane’s paints which are specifically designed for decorative painting. Here are my thoughts…
Annie Sloane paints are very easy to work with and offer a lot of control to get a certain look. It had never even occurred to me to create a patina or ‘age’ a piece of furniture. The store where I bought the paints actually flips furniture using these paints and various techniques. So, I experimented on these chairs (more on that below) and really liked the result. I will definitely use again when the project calls for it.
The colors are really really good, often inspired by historical colors.
The chalk paint does not require a primer which is a huge bonus.
The paint dries really quickly. You can sand it or paint over it within an hour or so.
However, for painting the detail, I don’t think the chalk paints were strictly necessary; in fact I used a Farrow & Ball paint for one of the sections and Annie Sloane for others because the colors worked.

Step-by-step process
Applying the base coat of paint
Like I mentioned above, I was interested in experimenting with the chalk paint to create an aged look. I applied that to the whole chair (then later painted over sections before painting the detail) using Svenska Blue (which was inspired by Swedish historical homes).
Prep - make sure the surface is smooth and if not sand down and wipe away any residue. (I did not use any primer since it’s not recommended/needed with chalk paint.)
Slap on the paint - I mean that. You do not need to be precious in how you apply the paint. Just make sure you cover the wood. (here is a good reference video - note: I only used only layer of paint)
Sand off sections of paint - using super fine sandpaper, sand off sections of the paint with a circular motion. Use your judgement where to sand; the idea is to create the effect of age. Be sure to remove the paint dust and take a step back to see how it’s looking. (this video shows the technique)


Painting the decorative detail
This part of the project really comes down to personal taste, in terms of what designs you want to paint. But I will explain exactly how I did mine — and what I learned in the process.
Come up with the design - before you do anything, sketch out the designs TO SCALE. I cut out sketch paper to fit the exact places where I wanted to add detail - in my case that was the cross rails and apron. It took a few attempts to nail the design and make sure the repeated pattern fit the space.
Create a stencil - I used scissors to cut out the design, creating a stencil.
Paint any background colors (optional) - for my design, I choose to paint over the blue with Old White in the sections where I was adding the design. In theory, I could have painted this to begin with, but I actually like that the blue shows through.
Stencil the design - tape the stencil to the chair and draw over it with a pencil. Take your time with this and really get it right.
Paint the design - going super slowly, paint over the outline with the chosen paint color using a very fine brush. I like to start with the outer edge and then fill it in. I try to get a good amount of paint on the brush and dab it slightly so it’s not dripping. This part will take you the longest time by far.
Note: if you make a big mistake that can’t be wiped away, don’t panic. This happened to me. It is a pain, but you can just sand down that area, reapply paint, then redraw the outline and paint. It will take more time, but you won’t notice the difference.
Erase pencil marks - inevitably you will still see pencil marks from the outline. No worries, just use a gentle eraser to remove.
Apply finishing wax - the final step is to seal the paint with a coat of wax. I applied the wax with a soft white cloth, then wiped away excess with another clean white cloth. (a reference for applying the wax)


The result
The amount of effort that went into creating these chairs is rewarded with the result. I’m in awe of how unique and special they look and proud of myself for completing this project. Are there parts I nitpick? A bit, at first. But over time, I don’t see any flaws whatsoever; instead, I take them in as a work of art that brings so much warmth and character to my home.

Final thoughts
Decorative painting is a great option if you have secondhand furniture that’s looking worse for the wear or new furniture that’s completely devoid of personality. My IKEA Ivar chairs fit into the latter category, but now you’d never know it.
If this is your first decorative painting project, you might want to start out with something a little smaller, like painting a picture frame and experimenting with different paint techniques.
Like I have proven, you do not need to be a talented painter to create one-of-a-kind pieces — all you really need is a lot of patience.